
There have been some requests for a more advance carry so I thought I would start with a basic double hammock (DH) and spice it up with a couple of finish variations. A double hammock is a secure back carry but it can be a more difficult carry to master because it can be challenging to get the rebozo passes tight enough white trying to keep a chest pass tight. This carry may take a little more effort for those who aren’t as comfortable with a variety of back carries. But I encourage you to try it and for everyone who is ready for the next level, choose one (or both!) of the finish variations to show off!
I also want to point out that a back carry should never be attempted before you are completely comfortable in front carries. I highly suggest seeking the assistance of an instructor before attempting to back carry for the first time but it should always be tried with the help of a spotter and/or over a soft surface (such as a bed) until you are entirely comfortable. It is difficult to gauge how a child is going to react to a back carry (both being wrapped and being taken down) so it is always better to have another set of hands around until you are both very comfortable with the process. This is a great reason to come to a meeting even if you aren’t a new wrapper!

The DH, also called Chunei back carry, is a very secure carry because there are two rebozo passes going across your child (like a double hammock!). Remember, a robozo pass has one end going over your shoulder and the other end coming under the opposite arm. This wrap is best done with a size 5-7 woven wrap. The basic steps are:
1 - Start your middle marker at your chest and wrap around to your back; the point your wrap touches the middle of your back is where your new middle marker will be and where you should begin.
2 - Put baby on your back with an off-centered rebozo.
3 - Using the end of the pass going under your arm, spread a torso pass across your chest.
4 - Bring that chest pass around and make a second rebozo pass over the baby, tightening torso pass as you go.
5 - Bring your straps back around and under your arms, bunched or spread reinforcing passes over then under the baby’s legs. and tie off in front. If your wrap is not long enough to tie in front, you can tie under bum (TUB).
Picture Tutorial : http://www.wrapyourbaby.com/doublehammockcarry.html
Video Tutorial: http://www.youtube.com/watch?feature=player_embedded&v=SnNIMyk-WjI
Video Tutorial: http://www.youtube.com/watch?feature=player_embedded&v=SnNIMyk-WjI
Video Tutorial: http://www.youtube.com/watch?v=HYvZNx45isE *Good tips on how to get a tight chest pass!
VARIATION 1 - Poppins Double Hammock (PDH)
This is a DH with the finish inspired by the Poppins hip carry. It is a very pretty variation and great for special occasions, or, if you prefer a one shoulder back carry. You follow the basic double hammock instructions above but instead of bringing your second rebozo pass over your shoulder, you want to bring it under your arm and twist with the tail on the other shoulder to make the “poppins” look. You then wrap around to tie under bum.
Video Tutorial - http://www.youtube.com/watch?v=AVsLNQeg7Gw
Video Tutorial - http://www.youtube.com/watch?v=QgDX9iK9Z6s
Video Tutorial - http://www.youtube.com/watch?v=QgDX9iK9Z6s
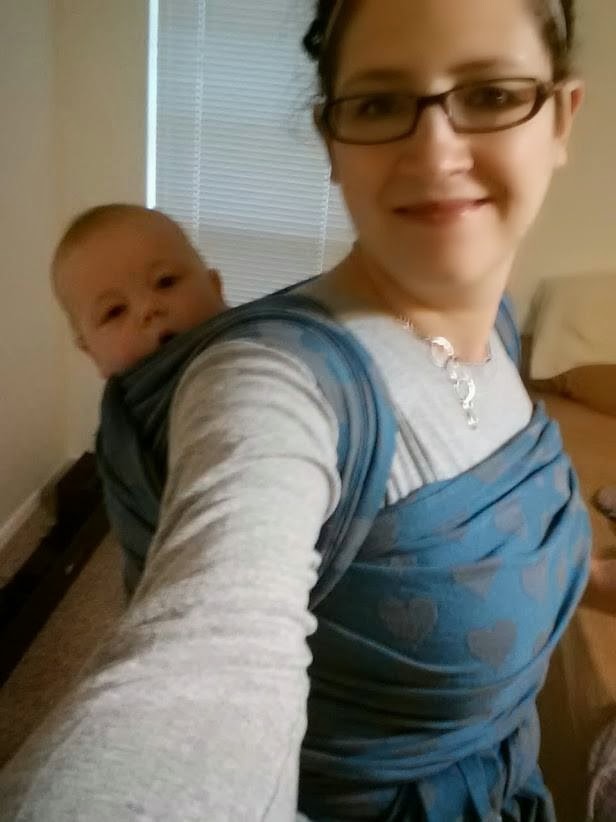
Here is a picture of Sol and I’s first attempt at this carry (it’s not perfect!) - We loved how tight and secure it was but how the one-shoulder carry gave him a bit more freedom of movement to one side.


VARIATION 2 - Saltwater Double Hammock (SDH)
This is a double hammock with a very pretty finish but it also helps take pressure of the shoulders so it can be a great variation for those who feel a regular DH is too much strain. Again, you follow the basic steps of a DH but once both your tails are in the Y position over your shoulders you bring them in front, twist at chest pass, wrap the top tail through the chest pass (the bottom tail goes over the chest pass), twist again at the bottom of the chest pass and bring around to tie under bum or, if you have a size 7 wrap, you can go over and under the legs and tie in front.
Picture tutorial - http://img.tapatalk.com/d/13/07/30/a4amurup.jpg
Video Tutorial - http://www.youtube.com/watch?v=5rI8uXsamB4
Video Tutorial - http://www.youtube.com/watch?v=3pWIME2NE2o *at 2:00 mark there is a great tip on how to get a tight rebozo pass using your elbow!


Again, the carries this week are more of the advanced nature but I would love to see some pretty variation pictures. And, please, share any tips or advance, along with those pictures on the facebook page. Everyone’s feedback directly determine next weeks carry, so please let me know what you want to see (or if you want to volunteer to guest post!). I hope you have fun with this carry, I really enjoy having a “special occasion” look I can pull out when needed.

Tiffany Johnson is a breastfeeding, baby wearing, co-sleeping, attachment parenting mama to three beautiful children. She is currently taking a leave of absence from her busy career as an estate planning attorney to focus on her home and family. In her spare time she loves crafting, reading a good book, red wine, all things geeky, and loving on her babies.


